We will explain the installation procedure for EC-CUBE, a representative domestic open source EC.
First of all, this post is written with the following in mind:
- Beginner to intermediateThis article is aimed at people who have never used FTP before, and will explain using the management screens of FTP software and rental servers. (This article will not involve typing commands.)
- This is an explanation of the official version, Ver2.11.1, as of May 5, 2011.
- Rental servers areDomain King, PHP is
5.1.6For more details, please see Domain KingFunctions listPlease see.
*As of June 7th, PHP has been upgraded to version 5.2.17.
- There is less reworkShortest routeWe strive to provide explanations that are easy to understand.
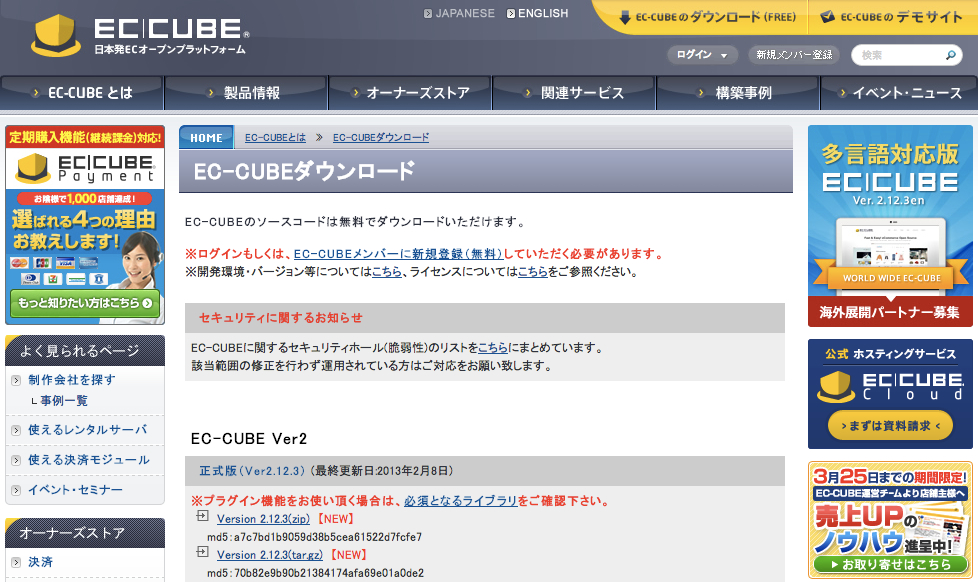
Download EC-CUBE
First, download the latest ZIP version from the official website below.
After downloading, unzip the file. The folder name will be "eccube-2.11.1" with the version name after the hyphen, so if you leave it as just "eccube", it will be easier to use in the future.
EC-CUBE Upload
Next, upload the unzipped folder to your server.
*Here, we are running a campaign where you can rent a server for 100 yen for one year.Domain KingFTP software for MacTransmitI will explain using:
Log in to the rental server using transmit. Upload the file directly under the document root (httpdocs).
Change Permissions
Once the upload is complete, change the permissions.
It's a bit complicated, but it's easier if you do it all at once.
*Please change the permissions of the following directories to match the numbers indicated.
With transmit, you can right-click on the file or folder in question, select "View Info", and make corrections in the access rights change section.
Other FTP clients often have items in the right-click menu as well.
html/
→777
html/install
→777
html/user_data
→777
html/upload
→777
data/cache
→777
data/class
→777
data/config
→777
data/downloads
→777
data/downloads/update
→777
data/logs
→777
data/Smarty
→777
data/upload
→777
Creating a Database
Once you have uploaded the files and modified the attributes, you must create the database before you can install.
Domain King has a function to create a database from the control panel. (Most recent rental servers seem to have this function.)
Select the relevant domain from the top of the control panel and on the next page click on the database icon.

Select "Add new database" and set the database name. For ease of understanding, we will name it "eccube_test".
*By the way, if you enter "eccube", you will get an error as it has already been assigned on Domain King.
For database, select MySQL.

Finally, select "Add a new database user" and create a user to finish creating the database.
The username is arbitrary, but for ease of understanding we will use "eccube_user".
Installing EC-CUBE
Now it's time for the installation.
In your browser
http://yourdomain/eccube/html/install/
Open.
*Please change yourdomain to match the domain you uploaded.
The installation start screen will appear, so click "Next".
If you have made the last permission changes you made when uploading EC-CUBE, you will see the message "Access permissions are correct" and can proceed to the next step.
If an error occurs, please reconfigure according to the instructions.
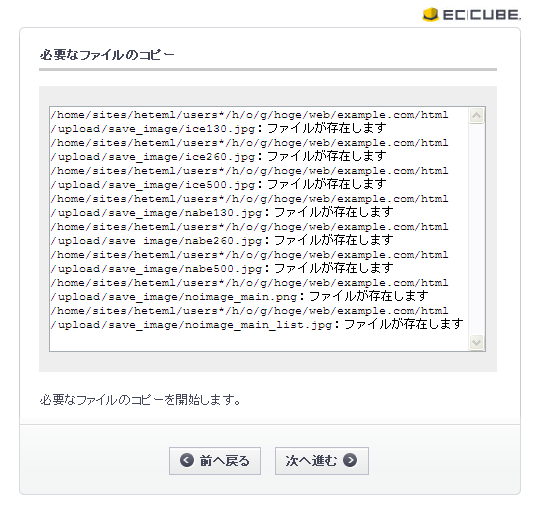
Next, the necessary files will be generated automatically, so click Next here as well.
If you get the message "Copy failed," the permission settings may be incorrect, so please check the permissions again.
Fill out the required fields in the site settings.
The web server settings are basically inserted automatically, but please change them if necessary.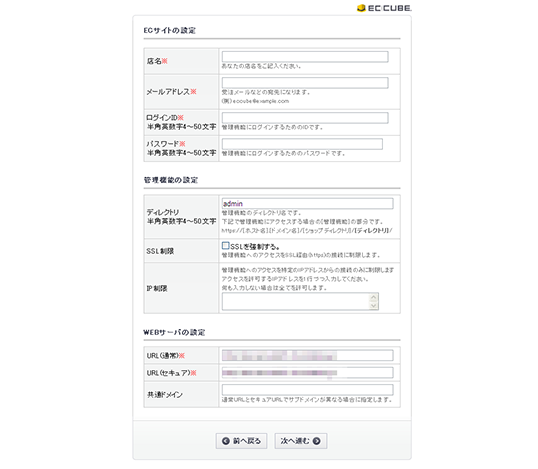
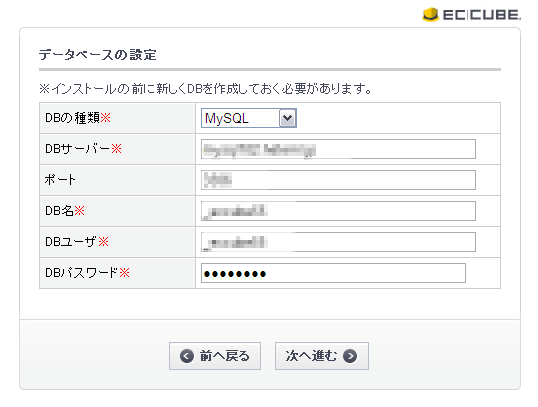
Next, we will configure the database.
Enter the database name and database user name that you set in 3. Creating the database.
The database type is MySQL. The DB server can remain at 127.0.0.1.
This means within the same server as localhost.
*It seems that separate domains are provided for rental servers such as those provided by Sakura Internet.
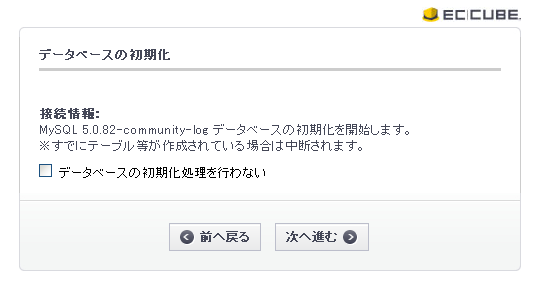
The database will be initialized. Do not check this box and click "Next".
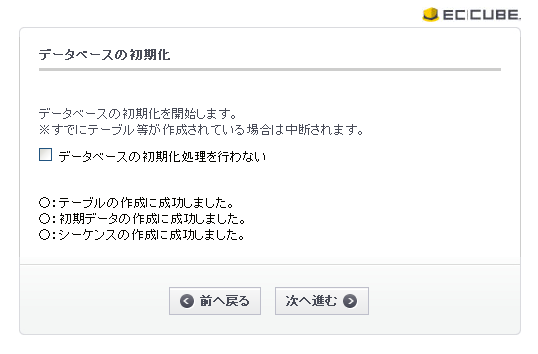
If the initialization is successful, the following screen will appear, so proceed to the next step.
Finally, you can optionally send debug information.

I thought that this was the end of the EC-CUBE installation procedure, but...
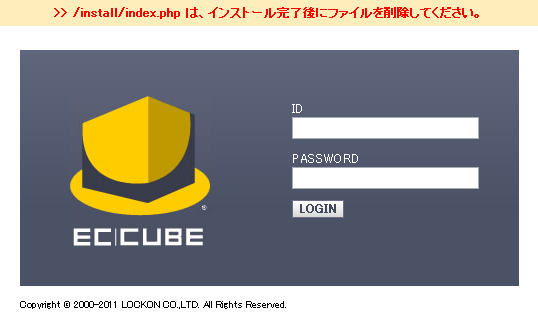
Be sure to delete the installation file "/install/index.php"!
As long as the alert is displayed at the top of the management screen, the deletion has not been completed!
This completes the EC-CUBE installation procedure.
thank you for your hard work.
Setting permissions may seem a bit complicated at first, but it will get easier once you get used to it.
In the future, I would like to write more in-depth posts about how to use EC-CUBE.